Step by Step Tutorial:
Create a Print Bleed Using Adobe Illustrator CC
In this tutorial we will explain step by step how to create the print bleed for your label correctly. The images on the right illustrate the individual steps once again. You should follow these four steps:
- set up bleed in a new document
- place elements in the bleed area
- set up bleed in an existing document
- save your PDF with the bleed
1. Set Up Bleed in a New Document
Firstly, you will need to create a new document in Adobe Illustrator. To do this, go on File New. In the window that opens [Fig.: 1.1], go to the tab Print. On the right side of the window, enter your document name, set the unit to ‘Millimeters’ and enter the size of the finished label (width x height). We require a bleed that is at least 2.5 mm; enter 2.5 in all four Bleed fields. You can now create your document by clicking on Create. The white area is the label’s final size, whereas the surrounding transparent area delimited by the red outline is the bleed.
2. Place Elements in the Bleed Area
All the background elements that are to be printed up to the label edge must be extended into the bleed area [Fig.: 2.1]. To do so, use the Selection tool to select these elements, then drag the selected object beyond the cutting line up to the red bleed line. The bleed area will be printed and trimmed out. This small space around the document is required to avoid leaving white edges of unprinted material due to movements of the paper while cutting the labels to shape. Please note that, for the same reason, a safety margin of at least 2 mm is required between the cutting line and any important element inside of the label (e.g. text, barcodes…).
3. Set Up Bleed in an Existing Document
To create the bleed area in an existing document, go to File Document Setup. Select ‘Millimeters’ as a unit. There are four input fields for the bleed (Top, Bottom, Left, Right), please enter our standard bleed of 2.5 mm. [Fig.: 3.1]
4. Save Your PDF with the Bleed
Once you finish designing your artwork, go to File Save As to save it. Select Adobe PDF (pdf) in the Format dropdown menu and then click on the Save button. In the window that opens up [Fig.: 4.1], it is important that you select the Use Document Bleed Settings checkbox in the Marks and Bleed tab. In many versions of Adobe Illustrator, the default values of 2.5 mm bleed should be automatically applied.
Download Tutorial as PDF
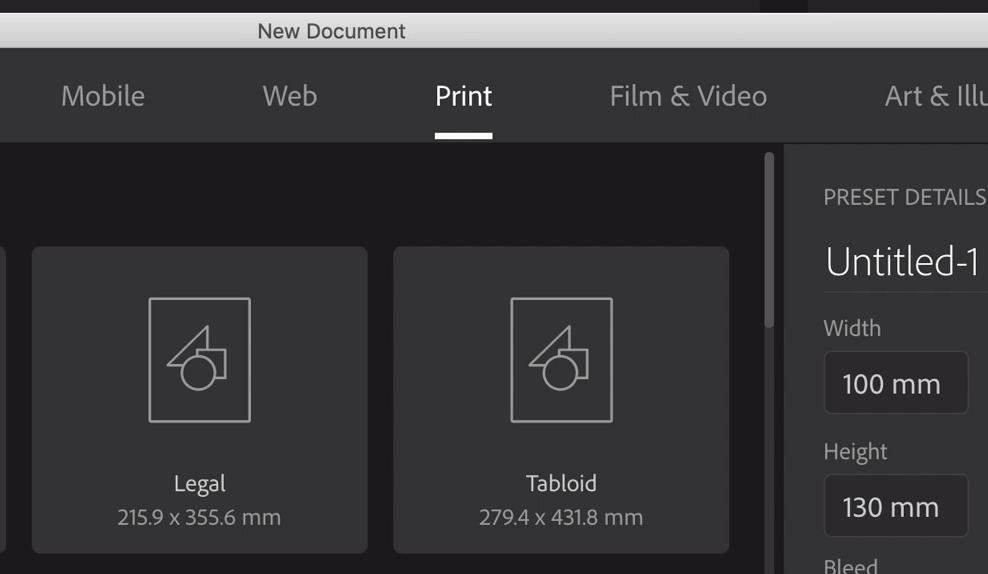
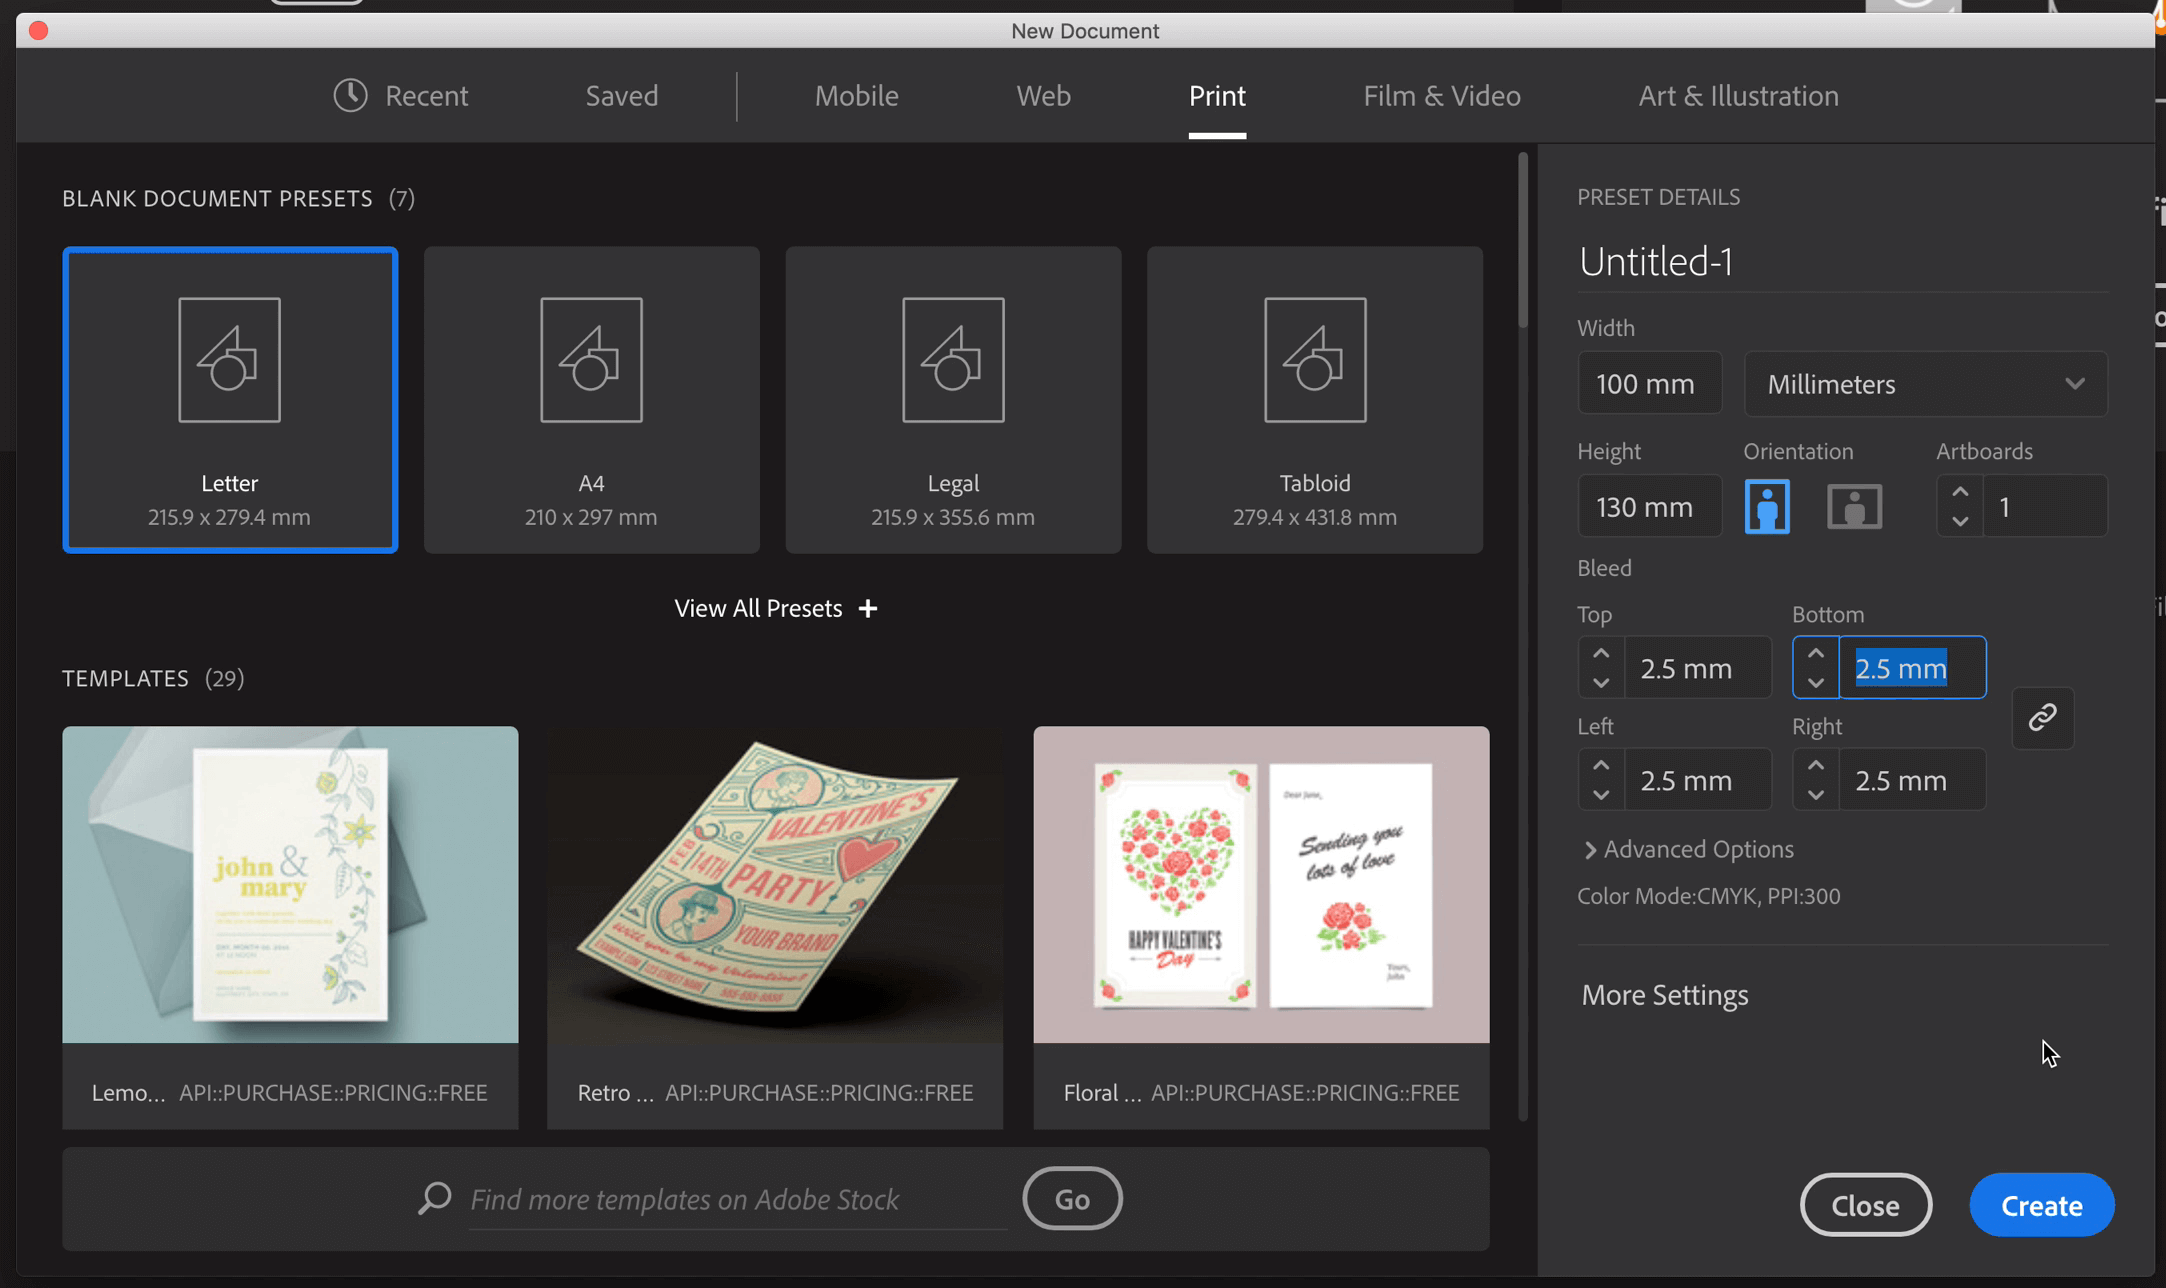
Fig.: 1.1
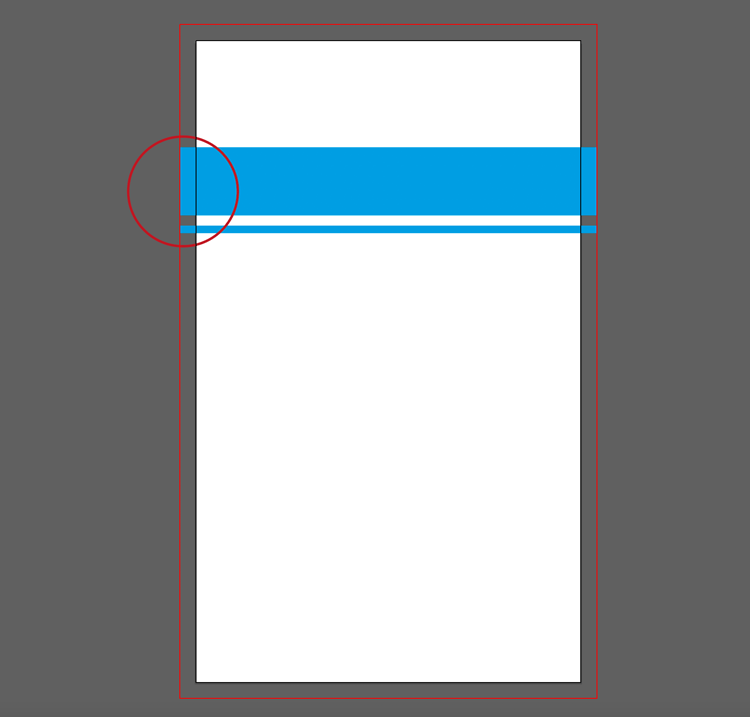 Fig.: 2.1
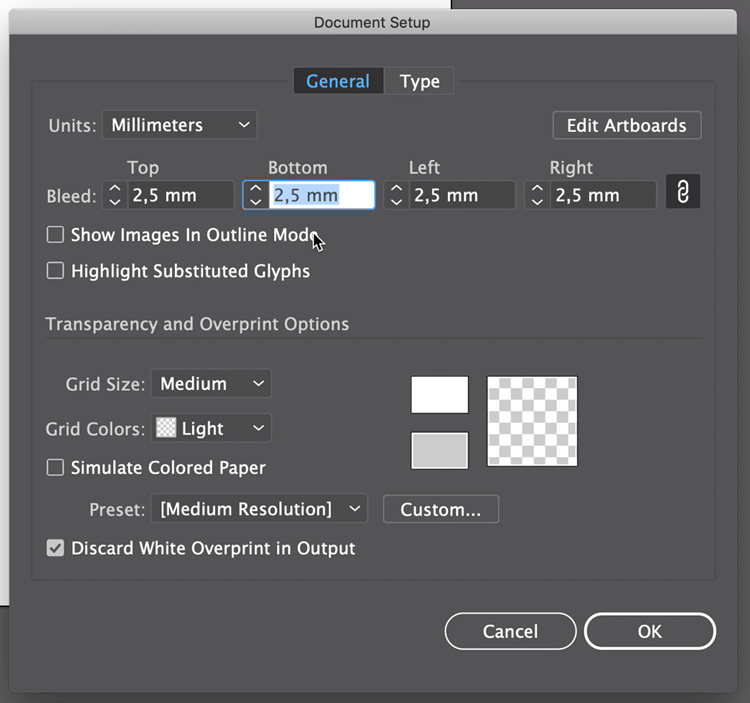 Fig.: 3.1
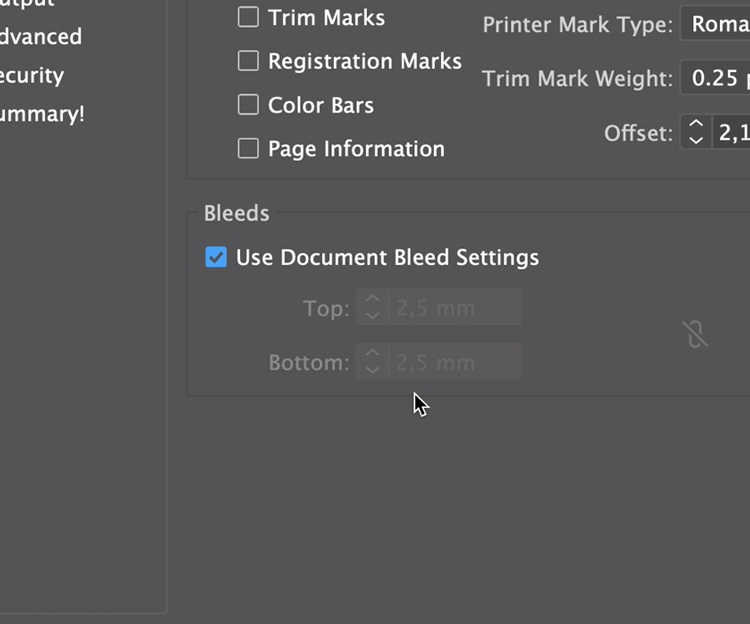
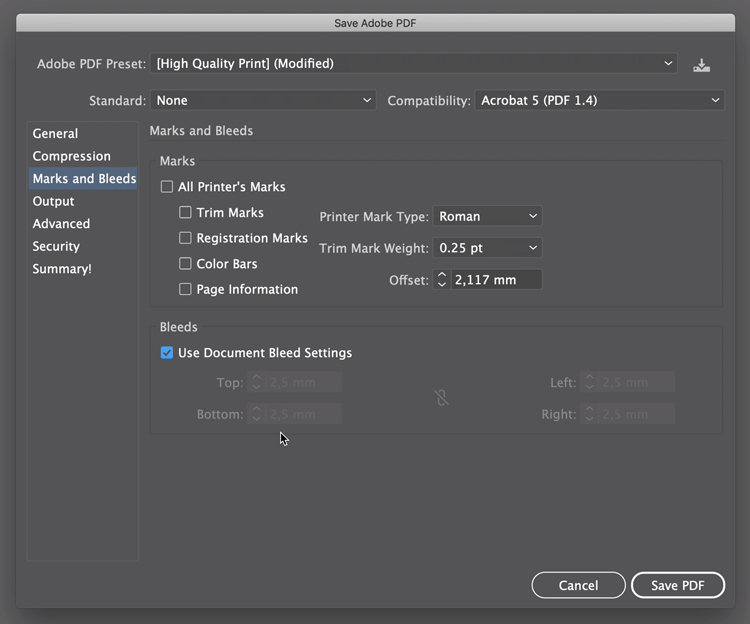 Fig.: 4.1